


31
JulGit Cheat Sheet: Essential Commands
10 Sep 2025
Beginner
2.06K Views
18 min read

Learn with an interactive course and practical hands-on labs
Free Azure DevOps Course: Best Online Azure DevOps Course
Git Cheat Sheet is a concise reference that lists the most essential Git commands and workflows in one place. Git is a powerful distributed version control system that lets developers track changes, collaborate seamlessly, and manage code efficiently.
This Git Cheat Sheet provides a quick, easy-to-reference guide to the most essential Git commands, workflows, and best practices, helping you work smarter, faster, and more confidently with Git. Get 1 step ahead in your DevOps career—Git version control mastery included in this Free Azure DevOps course.
Git Cheat Sheet: Step-by-Step
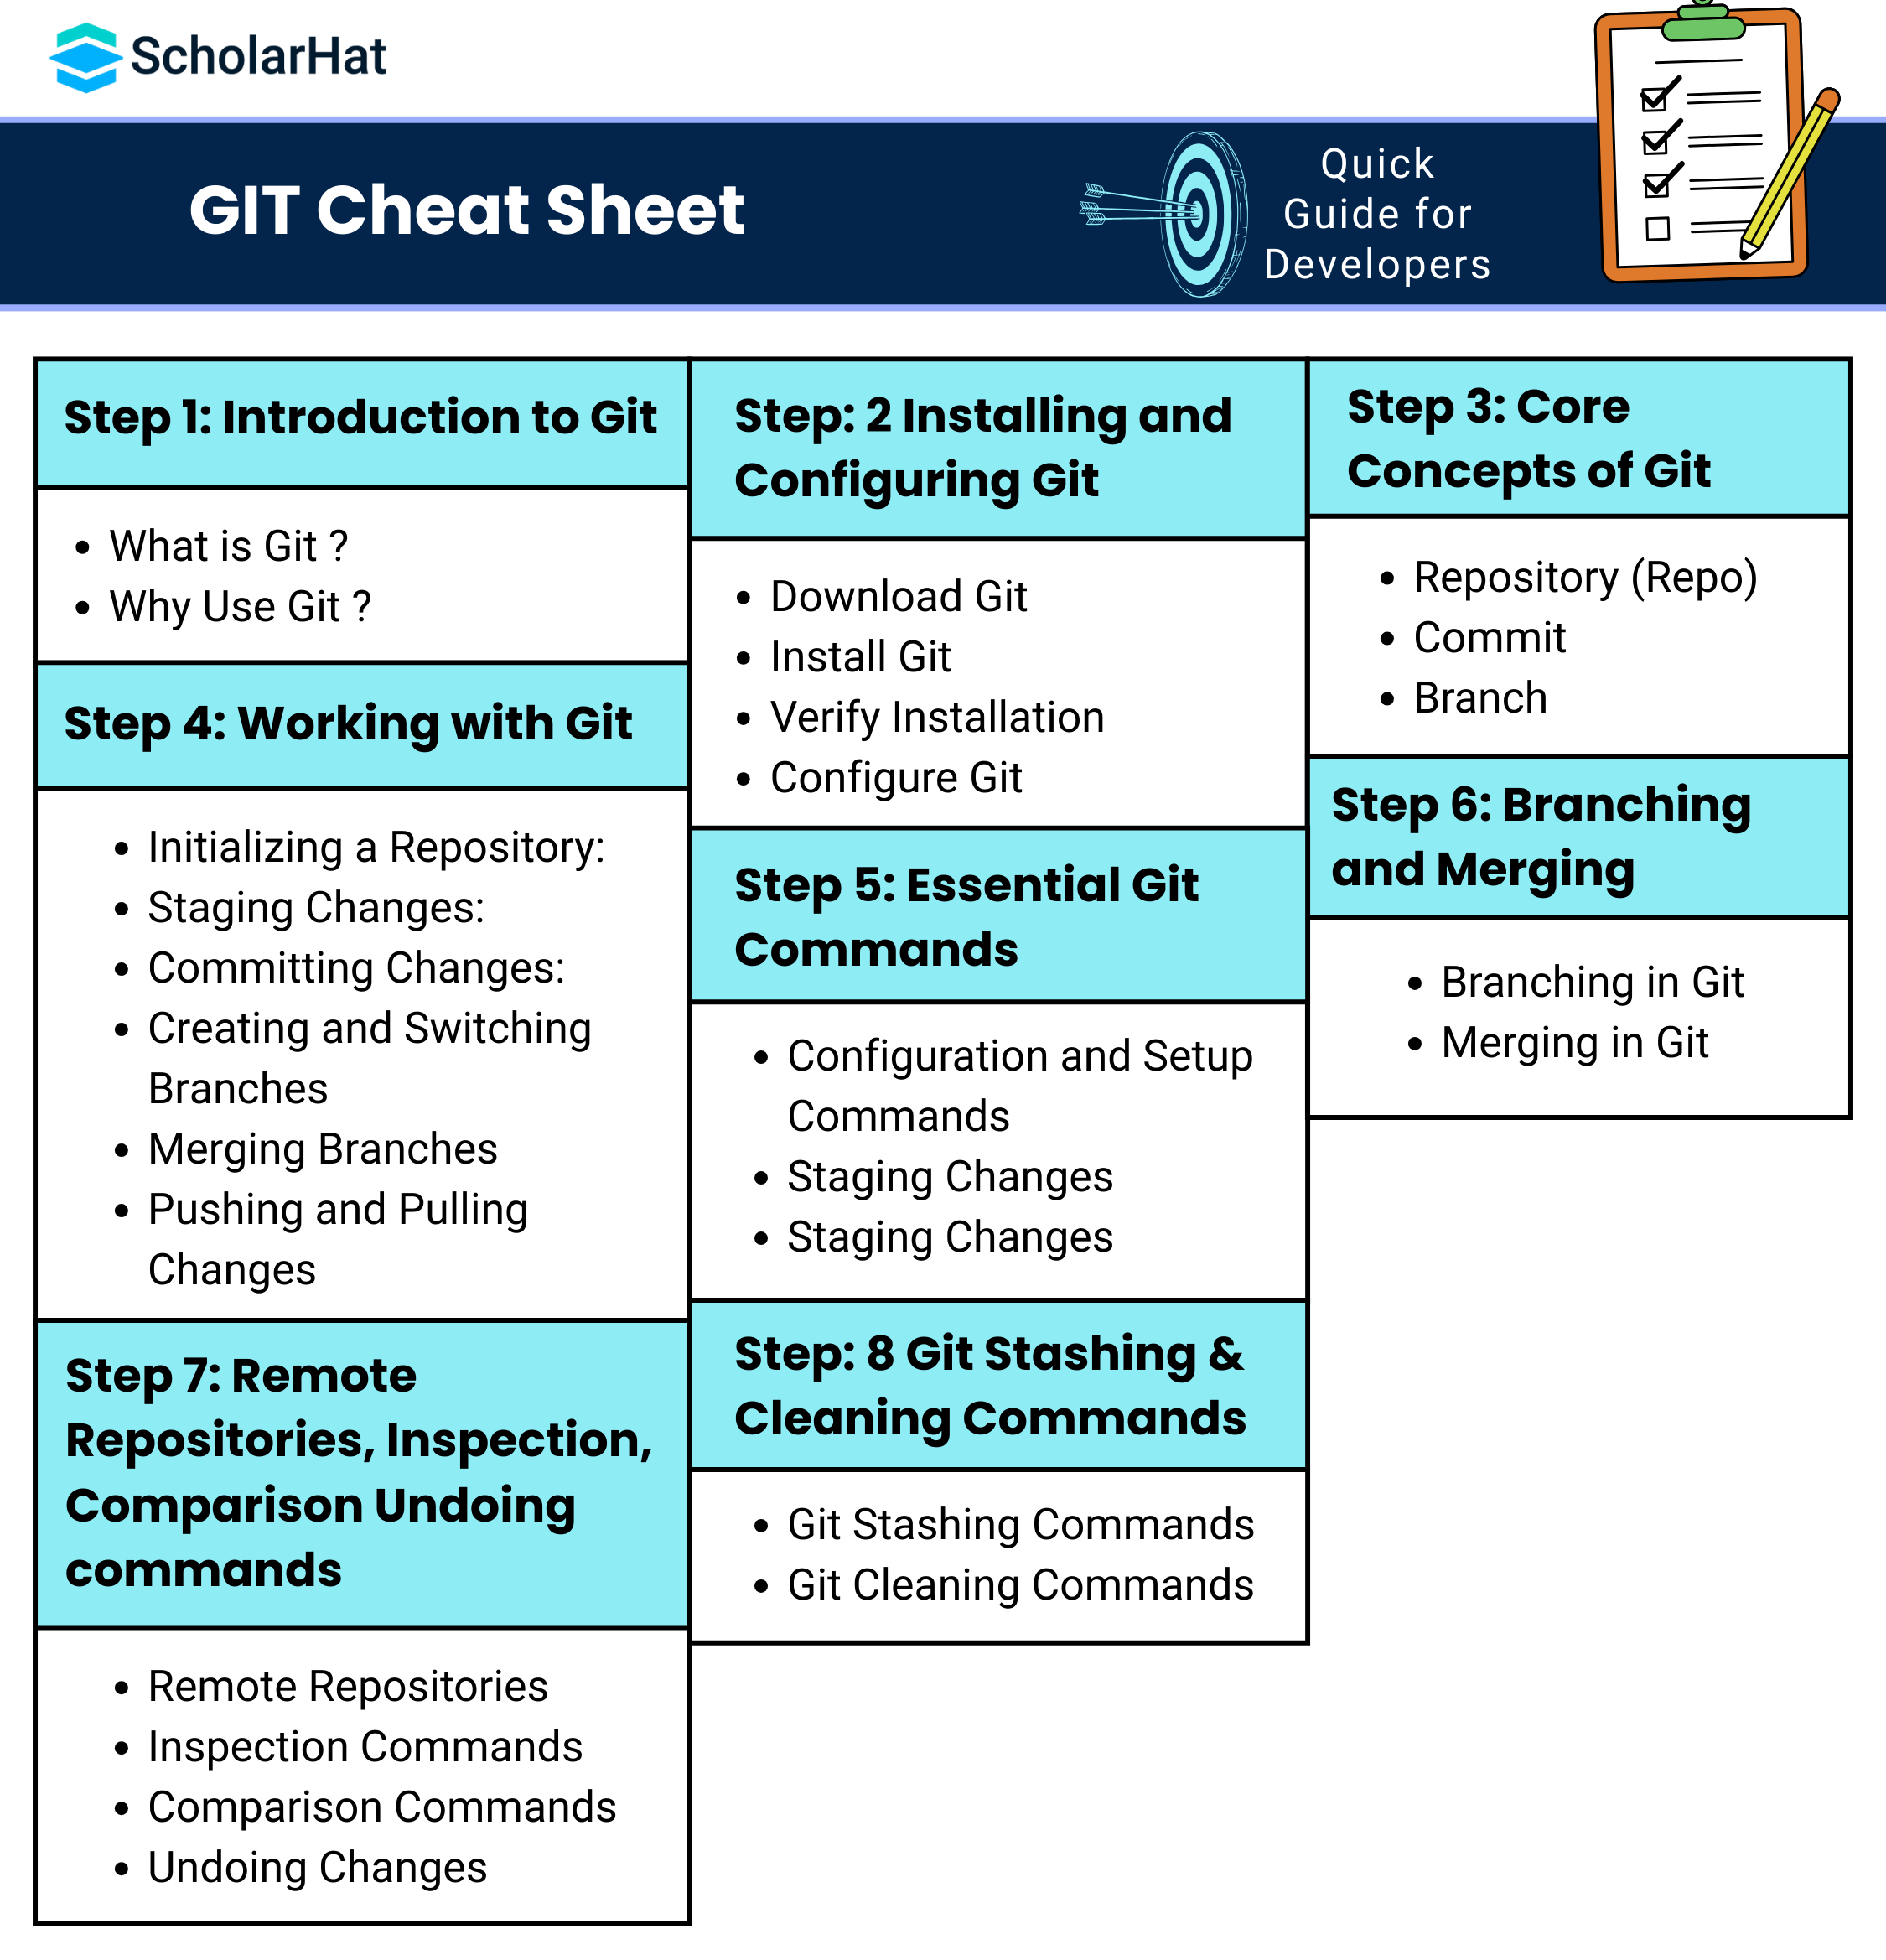
Step 1: Introduction to Git
What is Git ?
Git is a distributed version control system used to track changes in source code during software development. It keeps track of every little change or update you make, you can always look back at previous versions or undo mistakes if needed. Git helps maintain a clean project history, handle multiple features through branching, and recover from mistakes with ease.
Why Use Git ?
- Version Control: Git tracks every change in your code, allowing you to revert to previous versions if something goes wrong.
- Collaboration: Multiple developers can work on the same project simultaneously without overwriting each other’s work.
- Branching & Merging: Git makes it easy to create separate branches for features or experiments and merge them back safely.
- Distributed System: Every developer has a full copy of the repository, making work possible even offline.
- Backup & History: Git maintains a complete history of your project, serving as a backup and audit trail.
| Read More: Difference between Git and GitHub |
Step: 2 Installing and Configuring Git
Step 1: Download Git
- Go to the official Git website: https://git-scm.com/downloads
- Choose your operating system: Windows, macOS, or Linux.
- Download and run the installer.
Step 2: Install Git
Windows:
- Run the .exe file and follow the installation prompts.
- Keep default options unless you have specific needs.
- Select your preferred terminal (Git Bash recommended).
macOS:
- Use the downloaded installer or install via Homebrew:
bashbrew install git
Linux:
- Debian/Ubuntu:
 bashsudo apt update
sudo apt install git
- Fedora:
bashsudo dnf install git
Step 3: Verify Installation
- Open a terminal or command prompt and type:
bashgit --version
You should see the installed Git version.
Step 4: Configure Git
- Set up your username and email, which will appear in commits:
 bashgit config --global user.name "Your Name"
git config --global user.email "your.email@example.com"
Step 3: Core Concepts of Git
1. Repository (Repo)
A repository is the central hub where your project’s files, folders, and complete history of changes are stored. It acts like a digital folder that not only holds your code but also tracks every modification over time.
- Local Repository: Stored on your computer. You can work offline, make changes, commit them, and later sync with a remote repository.
- Remote Repository: Hosted on services like GitHub, GitLab, or Bitbucket. It allows multiple developers to collaborate, share code, and merge changes seamlessly.
2. Commit
Commit is a record of changes you’ve made to the repository. Think of it as taking a snapshot of your project at a specific moment in time. Commits are essential for tracking progress, documenting work, and collaborating with others. Each commit has a unique hash ID and a commit message describing what changed.
3. Branch
Branch is a separate line of development in your repository. It lets you work on new features, experiments, or bug fixes without affecting the main codebase. Branching is crucial for collaborative development and safe testing.
Step 3: Working with Git
The Git workflow involves the following steps:
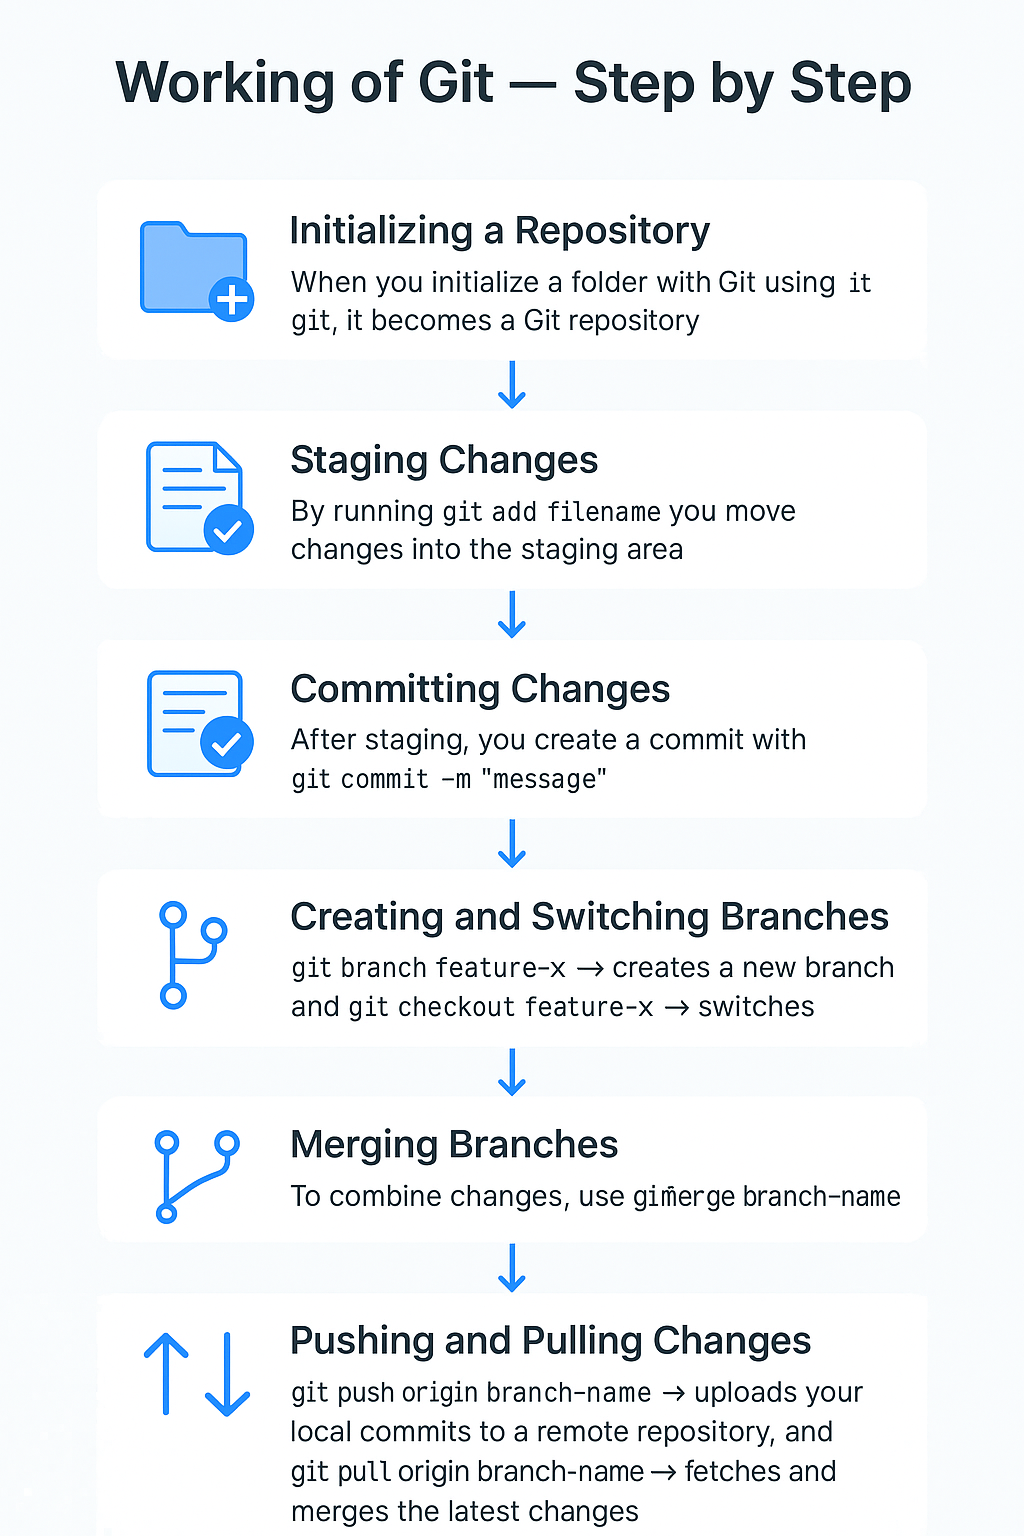
Initialize → Stage → Commit → Branch → Merge → Push/Pull
1. Initializing a Repository:
- When you initialize a folder with Git, it becomes a repository.
- It can be local repository (on your system) and remote repository ( hosted on servers like GitHub, GitLab, Bitbucket)
- The repo keeps the entire history of changes.
2. Staging Changes:
- When files are modified, Git tracks them as modified but not yet ready for commit.
- By running git add filename, you move changes into the staging area.
3. Committing Changes:
- After staging, you create a commit with git commit -m "message".
- Git logs every commit with a unique ID (hash), author, timestamp, and message.
- This provides a complete history of changes.
4. Creating and Switching Branches
- Branches allow you to work on new features or experiments without affecting the main project.
- Each branch maintains its own line of development.
5. Merging Branches
- To combine changes, use git merge branch-name.
- Git integrates commits from one branch into another.
- If both branches changed the same code, Git will prompt for conflict resolution.
- This ensures collaboration without overwriting work.
6. Pushing and Pulling Changes
- git push origin branch-name: Uploads your local commits to a remote repository (e.g., GitHub).
- git pull origin branch-name: Fetches and merges the latest changes from remote into your local repo.
- This enables collaboration across teams by keeping everyone’s code in sync.
Step 4: Essential Git Commands
1. Configuration and Setup Commands
Configuration and Setup in Git refers to the process of setting up Git for the first time and customizing it according to your preferences.
| Command | Use |
| git config --global user.name "Your Name" | Set Global Git Username. |
| git config --global user.email "your.email@example.com" | Set global Git email. |
| git config user.name "Your Name" | Set username for current repo only. |
| git config user.email "your.email@example.com" | Set email for current repo only. |
| git config --list | Show current Git configuration. |
| git init | Creates a new local repo. |
| git clone <url> | Copies a remote repo locally. |
| git remote add origin <url> | Links local repo to remote. |
| git remote -v | Lista remotes |
2. Staging Changes
Staging is the process of selecting which changes you want to include in your next commit. Git uses the staging area (also called the index) to prepare changes before saving them permanently in the repository.
| Command | Use |
| git status | Check the current status of files: modified, staged, untracked |
| git add <file> | Stage a specific file for the next commit |
| git add . | Stage all modified and new files in the current directory |
| git add -A | Stage all changes(including deletions) in the repository. |
| git diff | See unstaged changes between working directory and last commit. |
| git diff --staged | See changes that are staged and ready to commit. |
3. Committing Changes
Commit records the staged changes in the repository along with a commit message. Each commit is a snapshot of your project at a point in time.
| Command | Use |
| git commit -m "Message" | Commit staged changes with a message describing the changes |
| git commit -a -m "Message" | Stage all modified tracked files and commit in one step. |
| git commit --amend | Modify the most recent commit, useful to fix messages or add forgotten changes |
| git log | View the history of commits with messages and IDs |
| git show <commit -id> | View details of a specific commit. |
Step 5: Branching and Merging
Branching in Git
Branch is like a separate workspace inside your repository where you can develop features, fix bugs, or experiment without affecting the main codebase.
| Command | Use |
| git branch | List all branches in the repository and highlights the current branch.. |
| git branch <branch-name> | Create a new branch called <branch-name> |
| git checkout <branch-name> | Switch to an existing branch. |
| git checkout -b <branch-name> | Create and switch to a new branch in one step. |
| git branch -d <branch-name> | Delete a branch that has been merged |
| git branch -D <branch-name> | Force delete a branch (even if not merged). |
| git switch -c <branch-name> | Create and switch to a new branch. |
| git switch <branch-name> | Modern alternative to git checkout for switching branches. |
Merging in Git
Merging is the process of combining changes from one branch into another.
| Command | Use |
| git merge <branch-name> | Merge the specified branch into the current branch |
| git merge --no--ff <branch-name> | Create a merge commit even if a fast-forward merge is possible (keeps history clearer). |
| git log --graph --oneline --all | Visualize branches and merges in a tree-like structure. |
| git diff <branch1>..<branch2> | Show differences between two branches. |
Step 6: Remote Repositories, Inspection, Comparison Undoing commands
1. Remote Repositories
Remote repository is a version of your project hosted on a server (like GitHub, GitLab, or Bitbucket). It enables team collaboration, code sharing, and backup.
| Commands | Use |
| git remove -v | Show all configured remote repositories |
| git remote add origin <url> | Link a local repo to a remote repository |
| git remote remove <name> | Remove a remote connection |
| git clone<url> | Create a local copy of a remote repository |
| git fetch | Download changes from the remote without merging them. |
| git pull | Fetch and merge changes from the remote into your branch |
| git push origin <branch-name> | Upload local commits to a remote branch. |
| git push -u origin <branch-name> | Push branch and set upstream (so future git push/git pull commands work without specifying the branch). |
2. Inspection Commands
Inspection commands let you explore the history of your project, commits, and repository details.
| Command | Use |
| git status | Show the current state of working directory and staging area (modified, staged, untracked files). |
| git log | Display commit history in detail |
| git log --online | Condensed one-line-per-commit history. |
| git log --graph --oneline --all | Visualize branch and merge history as a tree. |
| git show <commit -id> | Show detailed information about a specific commit (changes + metadata). |
| git reflog | Show a log of all actions (including commits, checkouts, resets). Useful for recovering lost commits. |
3. Comparison Commands
Comparison commands help you see differences between commits, branches, or working states.
| Command | Use |
| git diff | Show changes between working directory and staging area (unstaged changes). |
| git diff --staged | Show differences between staging area and last commit (staged changes). |
| git diff <commit1> <commit 2> | Compare differences between two commits. |
| git diff <branch1>...<branch2> | Compare differences between two branches. |
| git log -p | Show commit history with patch (detailed code changes). |
| git blame <file> | Show who last modified each line of a file (line-by-line history). |
4. Undoing Changes
Undoing Changes in Git refers to the process of reverting or discarding modifications in your working directory or staging area. This allows you to fix mistakes, discard unwanted edits, or reset files to a previous state.
| Command | Use |
| git reset --hard <commit> | Reset repository to a specific commit and discard all changes |
| git revert <commit> | Safely undo a commit by creating a new commit that reverses its changes. |
| git checkout -- <file> | Discard local changes in a specific file, restoring it to last committed state. |
| git restore <file> | Modern alternative to discard changes in a file. |
| git commit --amend | Edit the last commit (message or staged changes). |
Step: 7 Git Stashing & Cleaning Commands
1. Git Stashing Commands
Git Stashing is a feature in Git that allows you to temporarily save your uncommitted changes in your working directory without committing them, so you can work on something else and then come back to those changes later.
| Command | Description |
| git stash | Stashes your local uncommitted changes, reverting to the last commit. |
| git stash save "message" | Saves changes to a new stash with a custom message. |
| git stash list | Lists all stashes with their index and messages. |
| git stash show | Shows a summary of changes in the latest stash. |
| git stash pop | Applies the latest stash and removes it from the stash list. |
| git stash drop [stash@{index}] | Deletes a specific stash from the list. |
| git stash clear | Removes all stashes from the stash list. |
2. Git Cleaning Commands
Git Cleaning is a Git operation used to remove untracked files and directories from your working directory.
| Command | Description |
| git clean -n | Shows which untracked files would be removed (dry run). |
| git clean -f | Removes untracked files from the working directory. |
| git clean -fd | Removes untracked files and directories. |
| git clean -fx | Removes untracked files, including ignored files. |
| git clean -fX | Removes only ignored files, keeps other untracked files. |
Best Practices for Using Git
1. Make Small and Frequent Commits
Make small, logical commits rather than large, messy ones. Use descriptive messages that explain what and why the change was made.
2. Use Branches Strategically
Create separate branches for features, bug fixes, or experiments. Keep the main or master branch stable. Merge only fully tested work back into the main branch.
3. Pull Before You Push
- Always sync your local branch with the remote repository before pushing.
- This avoids conflicts and ensures your changes integrate smoothly:
 bashgit pull origin main
git push origin feature-branch
4. Stash Unfinished Work
- When switching branches or pausing work, stash your uncommitted changes.
- This keeps your workspace clean and prevents accidental commits:
 bashgit stash
git checkout other-branch
git stash pop
5. Use .gitignore and Avoid Large Files
- Ignore unnecessary files like logs, dependencies, and secrets using .gitignore.
- For large binaries, consider using Git LFS to prevent repository bloat.
6. Review History and Maintain Clean Workflow
- Regularly check commit history with git log and git diff.
- Use rebase or squash to keep commit history clean.
- Follow consistent naming conventions for branches and commits for team collaboration.
Conclusion
Git is a powerful tool that makes version control, collaboration, and project management easier and more reliable. By following best practices and mastering essential commands, you can work efficiently, avoid errors, and maintain a clean project history. This cheat sheet is your quick reference guide to navigate Git confidently, whether you’re a beginner or an experienced developer.
Master Git, CI/CD pipelines, and Azure DevOps to land high-paying cloud roles. Join our Azure Devops Training.
FAQs
Git is a distributed version control system used to track changes in source code and enable collaboration among developers.
Git is a version control system and GitHub is a cloud-based hosting service for Git repositories.
Use the command: git status
A commit is a snapshot of changes in the project. You create it using:
git commit -m "Your message"
git commit -m "Your message"
A conflict occurs when two branches modify the same part of a file differently. Git asks you to resolve the conflict manually before merging.
Take our Devops skill challenge to evaluate yourself!

In less than 5 minutes, with our skill challenge, you can identify your knowledge gaps and strengths in a given skill.