


31
JulToken-Based Authentication In Node.js Using JWT
17 Jul 2025
Advanced
54.6K Views
14 min read

Learn with an interactive course and practical hands-on labs
Free Node.js Course with Certification for Beginners [2025]
Token-Based Authentication In Node.js Using JWT: An Overview
In this Nodejs tutorial, we are going to learn about JSON Web Tokens (JWT), and how to create a token by using JSON Web Tokens (JWT) on user authentication to secure NodeJS API. We are going to create a new sample application using Express-generator, then modify the application to create a token using JWT to verify user access for API. Let’s start the talk about getting an overview of authentication.Also, if you're looking to solidify your knowledge, check out our Node.js Free Course With Certificate to boost your skills and get certified.
Authentication
Simply, we know that authentication is nothing but verifying the user identities for security purposes. Previously (old approach) we used server-based authentication where logged information was stored in the server by creating a session for further identification. Think about the stored logged information which is going to match with the logged user for identity on every request to the server for serving data. This may cause performance issues while handling more authenticated responses by the server.
Read More - Node JS Interview Questions for Experienced
Token-Based Authentication
Here comes token-based authentication which means the server will respond with a generated token on user login which will be saved in the client instead of stored in the server to use for further requests. On each client request the token needs to pass with the header which will verify in the server to serve data. The thought is much simpler, once you log in just request with a valid token to get data on each request. Different types of NodeJS token-based authentication:- Passport
- JSON Web Tokens (JWT)
- Bcrypt
JSON Web Tokens (JWT)
According to the JWT website: “JSON Web Token (JWT) is an open standard (RFC 7519) that defines a compact and self-contained way for securely transmitting information between parties as a JSON object.” Simply JSON Web Token (JWT) is an encoded string to pass information between parties securely.
Following is the JWT string sample:
“eyJhbGciOiJIUzI1NiIsInR5cCI6IkpXVCJ9.eyJ1c2VybmFtZSI6InNoYXNoYW5na2EiLCJwYXNzd29yZCI6IjEyMzQ1IiwiaWF0IjoxNTM2MjgwMjM1LCJleHAiOjE1MzYyODAyNjV9.iplar3jWiW8rh1gU1H6pYaPu6-njCfflrP8GLbx9Imw”
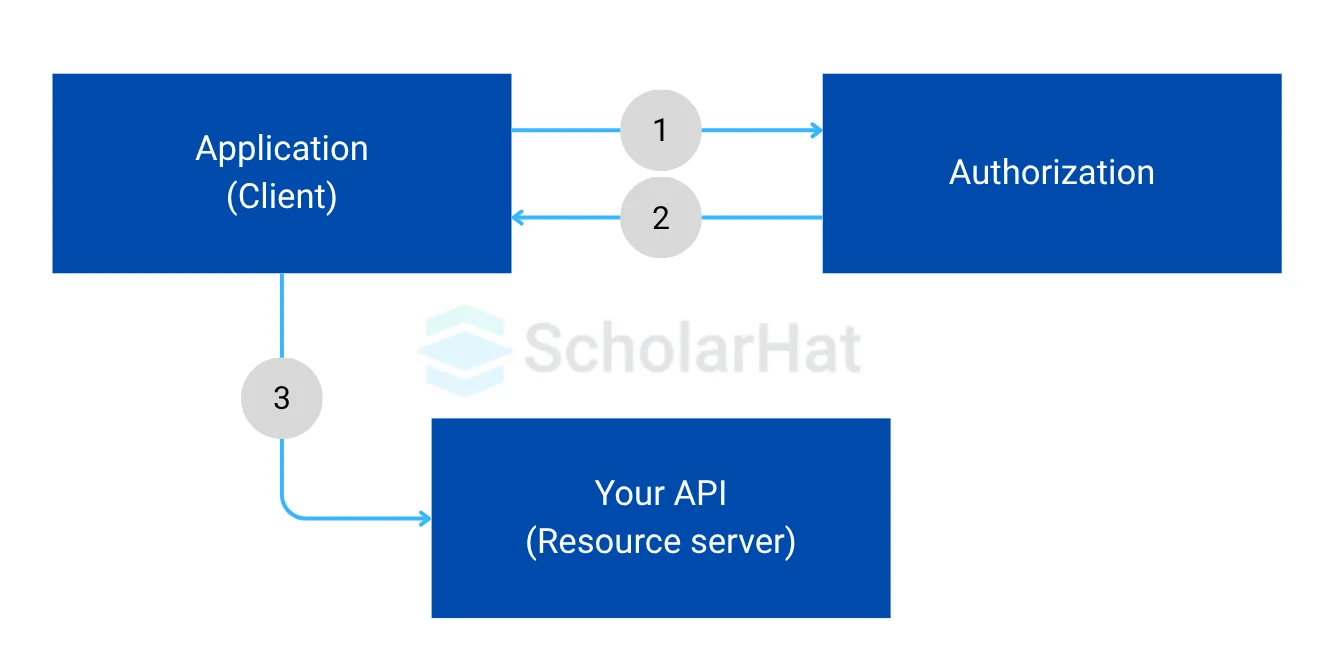
It has three parts separated by “.”, where the first part with purple color is header, then the part with blue color is payload, then the signature is with green color. While a user requests data to the server this JWT string needs to pass with the header to verify in the server for user identification. The following screen demonstrates how JWT is going to work with a client request.
So far we have learned about token-based authentication and gotten familiar with JWT. Now let’s see how to generate the JWT using a sample application in NodeJS, generated by Express-generator.
Let’s Code
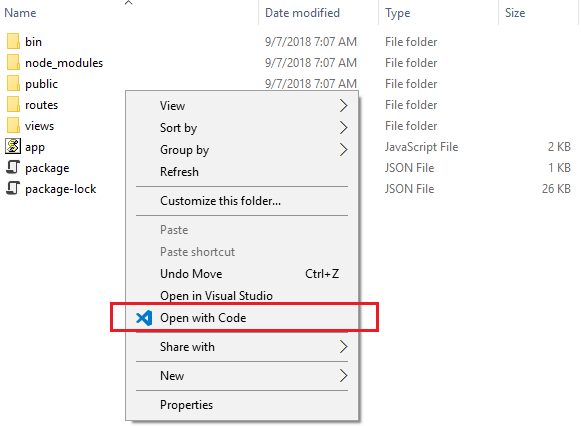
As you can see from the below screen the generated application with some simple steps using Express-generator. In case you need help please follow our previous post about getting started with Express and Express-generator. Open the application with Visual Code like the below screen.
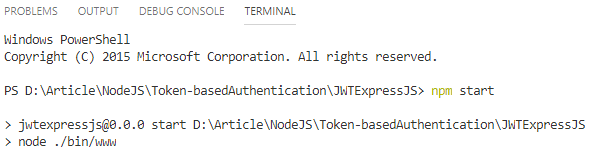
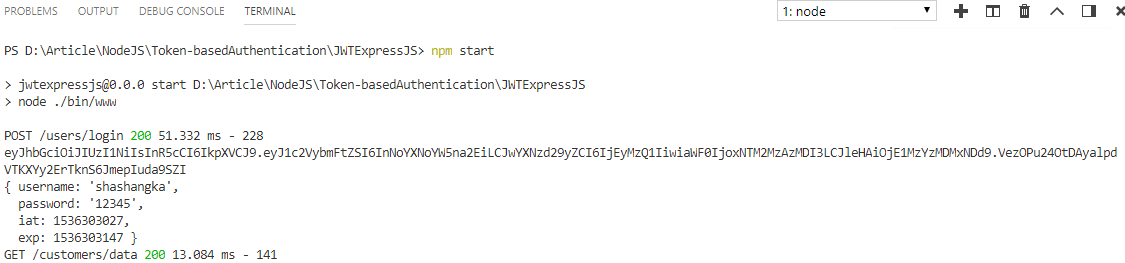
After installation of package dependencies, time to run the application. Go to the terminal tab in Visual Code then type “npm start” to start the application with predefined port 3000.
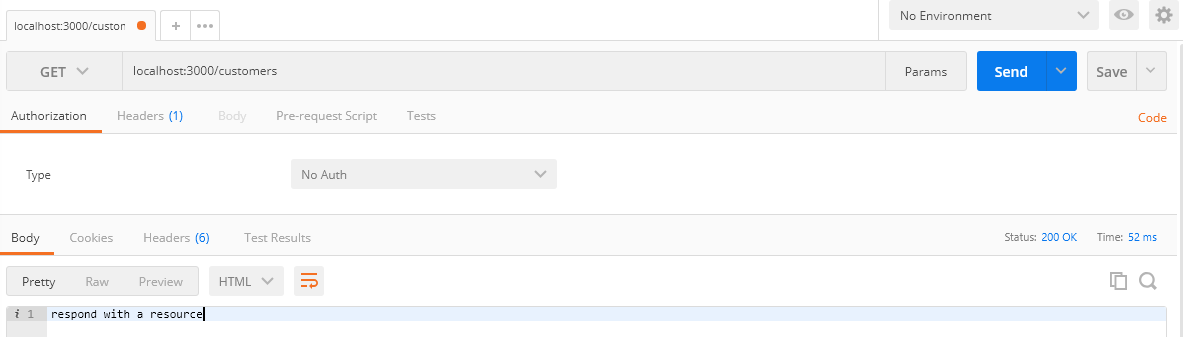
Open Postman to test the application by entering the request URL “localhost:3000”. As you can see from the below screen our application is running fine at port 3000.

Let’s create a new route to user login. Go to Visual Code Explorer to open the “users.js” file then add below code snippet.
User Login
 /* Post users Login. */
 router.post('/login', function (req, res, next) {
 let userdata = {
 username: req.body.username,
 password: req.body.password
 };

 //Go to server for user varificarion
 if (userdata.username == "shashangka" && userdata.password == "12345") {
 res.status(200).json({
 message: 'Login Successful'
 });
 }
 else {
 res.status(401).json({
 message: 'Login Failed'
 });
 }
 });
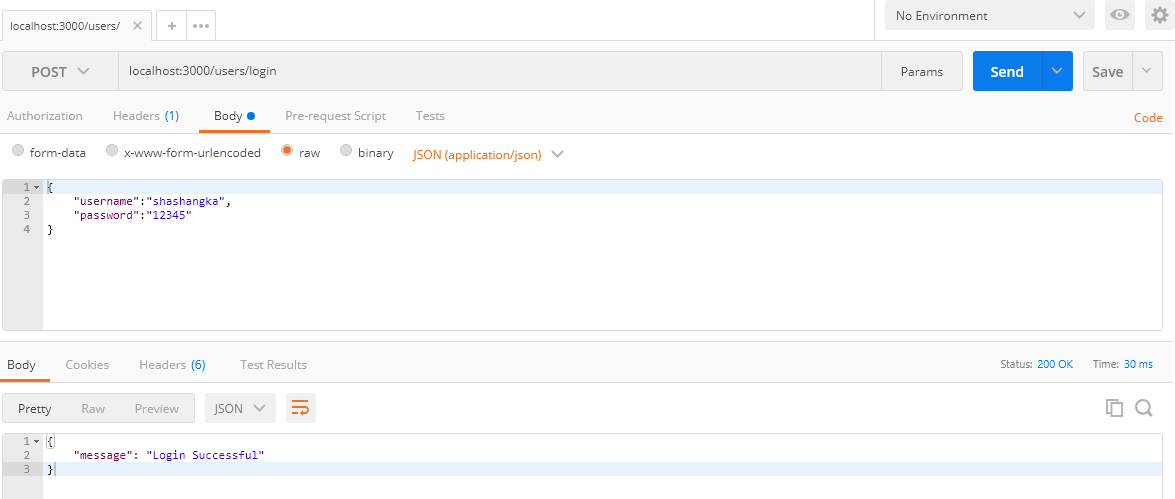
This is where we are going to validate users for issuing the token which is going to pass with each request to the server. As you can see from the below screen the login is successful while we are browsing with the URL:https://localhost:3000/users/login.
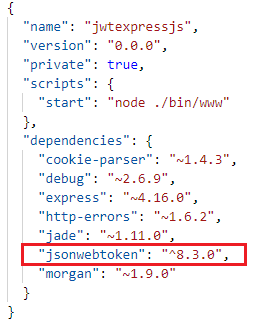
We are good to go for the next step with the “jsonwebtoken” package installation. Type “npm install jsonwebtoken” then press enter to install the package to the application.

Open package.json to see the installed package.
Let’s create an object of JWT by including the “jsonwebtoken” module in the “users.js“ file using the require() function.
let jwt = require('jsonwebtoken');
Create Token
Here we are generating a token using the “jwt.sign() ”method, which has an overloaded method as the following definition.
- jwt.sign(payload : string | Buffer | object, secret: Secret, [options]: SignOptions)
- jwt.sign(payload : string | Buffer | object, secret: Secret, [callback: SignCallback])
- jwt.sign(payload : string | Buffer | object, secret: Secret, [options: SignOptions, callback: SignCallback])
Options and callback functions are optional. Let’s create a config file to store the secret key and the hash algorithm for further use in token generation.
 module.exports = {
 secretKey: "Shashangka Shekhar",
 algorithm: 'HS256', //default: HS256
 };
Here’s the list of Signature algorithm
HS256: HMAC using SHA-256 hash algorithm (default)
HS384: HMAC using SHA-384 hash algorithm
HS512: HMAC using SHA-512 hash algorithm
RS256: RSASSA using SHA-256 hash algorithm
RS384: RSASSA using SHA-384 hash algorithm
RS512: RSASSA using SHA-512 hash algorithm
ES256: ECDSA using P-256 curve and SHA-256 hash algorithm
ES384: ECDSA using P-384 curve and SHA-384 hash algorithm
ES512: ECDSA using P-521 curve and SHA-512 hash algorithm
none: No digital signature or MAC value is included
Then register the module with the application in app.js.
global.config = require('./config');
From the following code snippet, you may notice that the first argument is passing user login data known as payload, and then the second one is passing the secret key which is configured in a config file. Lastly, the optional parameter is passing objects with token validity and encryption options.
 let token = jwt.sign(userdata, global.config.secretKey, {
 algorithm: global.config.algorithm,
 expiresIn: '1m'
 });
In response add a new property “jwtoken” with the return value of the token string.
 res.status(200).json({
 message: 'Login Successful',
 jwtoken: token
 });
Finally Users Module
 var express = require('express');
 var router = express.Router();
 let jwt = require('jsonwebtoken');

 /* GET users listing. */
 router.get('/', function (req, res, next) {
 res.send('respond with a resource');
 });

 /* Post users Login. */
 router.post('/login', function (req, res, next) {
 let userdata = {
 username: req.body.username,
 password: req.body.password
 };

 //Go to server for user varificarion
 if (userdata.username == "shashangka" && userdata.password == "12345") {
 let token = jwt.sign(userdata, global.config.secretKey, {
 algorithm: global.config.algorithm,
 expiresIn: '1m'
 });

 res.status(200).json({
 message: 'Login Successful',
 jwtoken: token
 });
 }
 else {
 res.status(401).json({
 message: 'Login Failed'
 });
 }
 });

 module.exports = router;
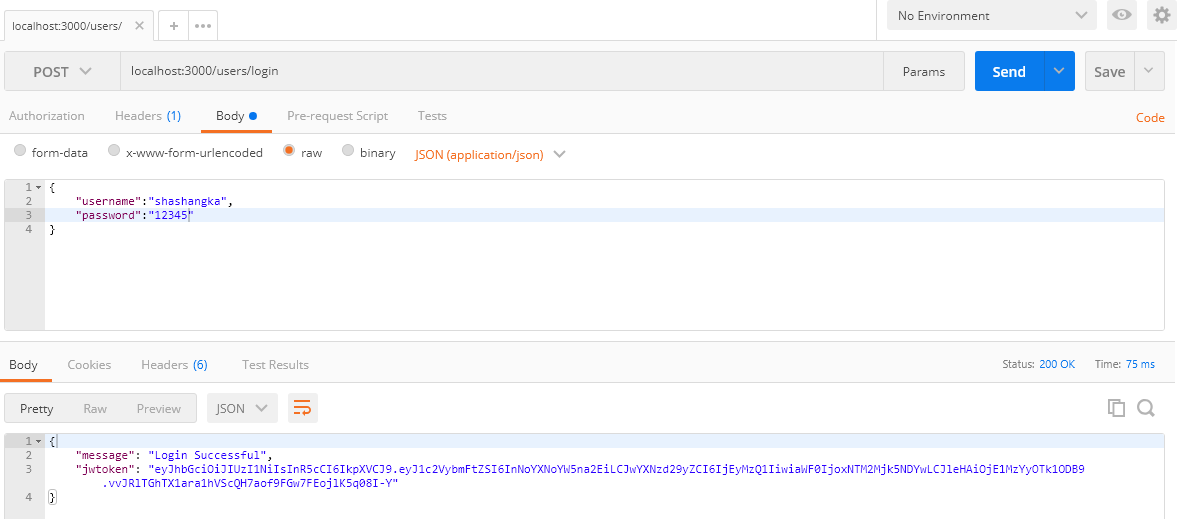
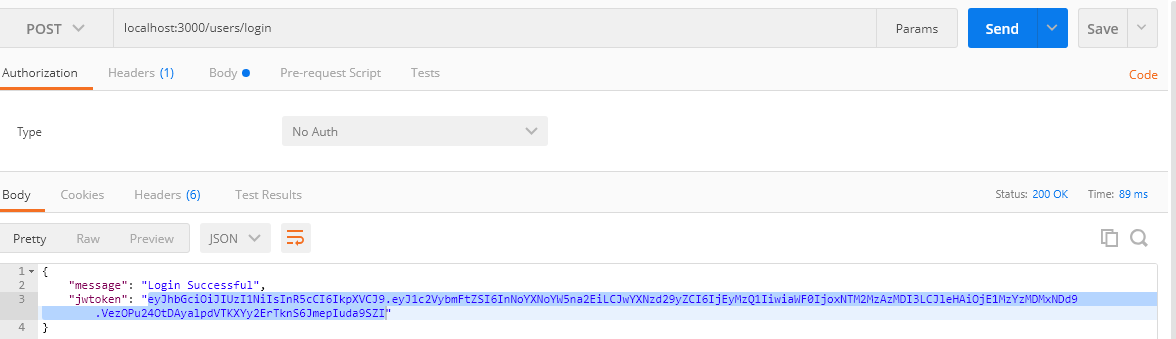
Using Postman browse with URL :https://localhost:3000/users/login. From the following screen as we can see the token is generated.
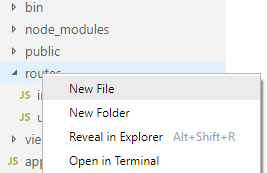
The generated token is valid for one minute you may configure it seven days by “7d” to increase the validity. Next, we are going to create a customer module that is going to handle the client request by verifying the bearer token to serve data. Create a new customers.js file by the following screenshot in Visual Code Explorer.
Copy-paste the below code to your newly created js file.
 var express = require('express');
 var router = express.Router();

 /* GET customers listing. */
 router.get('/', function (req, res, next) {
 res.send('respond with a resource');
 });

 module.exports = router;
Include the module in the app.js file with the below line of code.
var customersRouter = require('./routes/customers');
Enable the route in app.js with the following line of code.
app.use('/customers', customersRouter);
Go to Postman then enter the request URLhttps://localhost:3000/customers. The newly created route is working fine as you can see from the below screenshot.
In this section, we are going to verify the token using middleware at the router level. Let’s create another route to respond to client requests that return with a list of data. First, let’s access the data without any authorization.
 /* GET customers listing without protection. */
 router.get('/data', function (req, res, next) {
 let customerdata = [
 {
 customerid: 1,
 customername: 'Mahfuz Bappy'
 },
 {
 customerid: 2,
 customername: 'Shamim Uddin'
 },
 {
 customerid: 3,
 customername: 'Ishani Isha'
 }
 ];

 res.json(customerdata);
 });
As you can see in Postman while we are browsing by entering the URL :https://localhost:3000/customers/datathe server is responding with a list of data without any security validation, which is not secured so that anyone can easily access data from the server.

Accessing Token
Here we are going to access the token from the request header by the key name “x-access-token”, which is generated on user login.
 var express = require('express');
 var router = express.Router();

 router.use(function (req, res, next) {
 var token = req.headers['x-access-token'];
 console.log(token);

 });

 module.exports = router;
Copy-paste the code snippet to the newly created file then include it to customer.js by the below line of code.
let verifyToken = require('./verifytoken');
Pass the middleware as a parameter like the below line with the existing route path.
router.get('/data', verifyToken, function (req, res, next)
Verify Token
In this portion, we are going to verify the accessed token for user authorization using the “jwt.verify()” method.
Method Definition
- jwt.verify(token: string, secret: Secret)
- jwt.verify(token: string, secret: Secret, [options]: VerifyOptions)
- jwt.verify(token: string, secret: Secret, [callback: VerifyCallback])
- jwt.verify(token: string, secret: Secret, [options: VerifyOptions, callback: VerifyCallback])
 jwt.verify(token, global.config.secretKey,
 {
 algorithm: global.config.algorithm

 }, function (err, decoded) {
 if (err) {
 let errordata = {
 message: err.message,
 expiredAt: err.expiredAt
 };
 console.log(errordata);
 return res.status(401).json({
 message: 'Unauthorized Access'
 });
 }
 req.decoded = decoded;
 console.log(decoded);
 next();
 });
Finally the Middleware
 var express = require('express');
 var router = express.Router();
 var jwt = require('jsonwebtoken');

 router.use(function (req, res, next) {
 var token = req.headers['x-access-token'];
 console.log(token);
 if (token) {
 jwt.verify(token, global.config.secretKey,
 {
 algorithm: global.config.algorithm

 }, function (err, decoded) {
 if (err) {
 let errordata = {
 message: err.message,
 expiredAt: err.expiredAt
 };
 console.log(errordata);
 return res.status(401).json({
 message: 'Unauthorized Access'
 });
 }
 req.decoded = decoded;
 console.log(decoded);
 next();
 });
 } else {
 return res.status(403).json({
 message: 'Forbidden Access'
 });
 }
 });

 module.exports = router;
Go to Postman and browse with the URL :https://localhost:3000/users/login to regenerate the token by using valid login details.
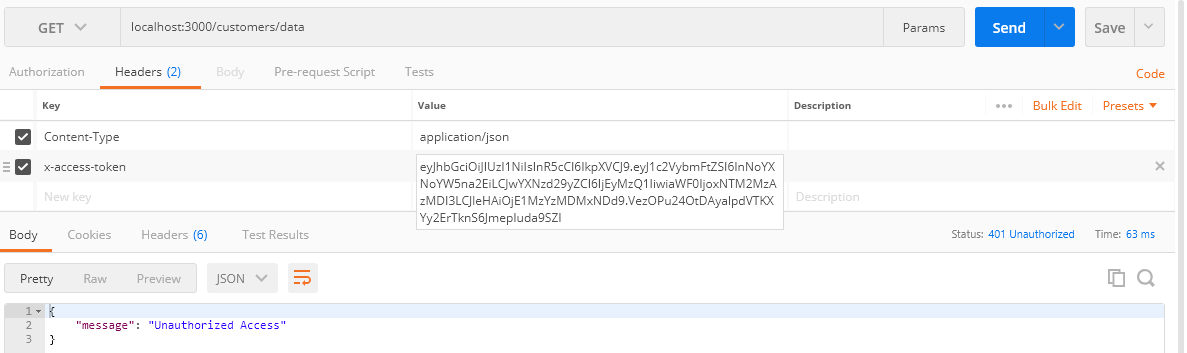
Then enter the URL :https://localhost:3000/customers/data pass the generated token in the header “x-access-token” by copying and pasting it to the value section. After that click on the send button to send the request to the server.
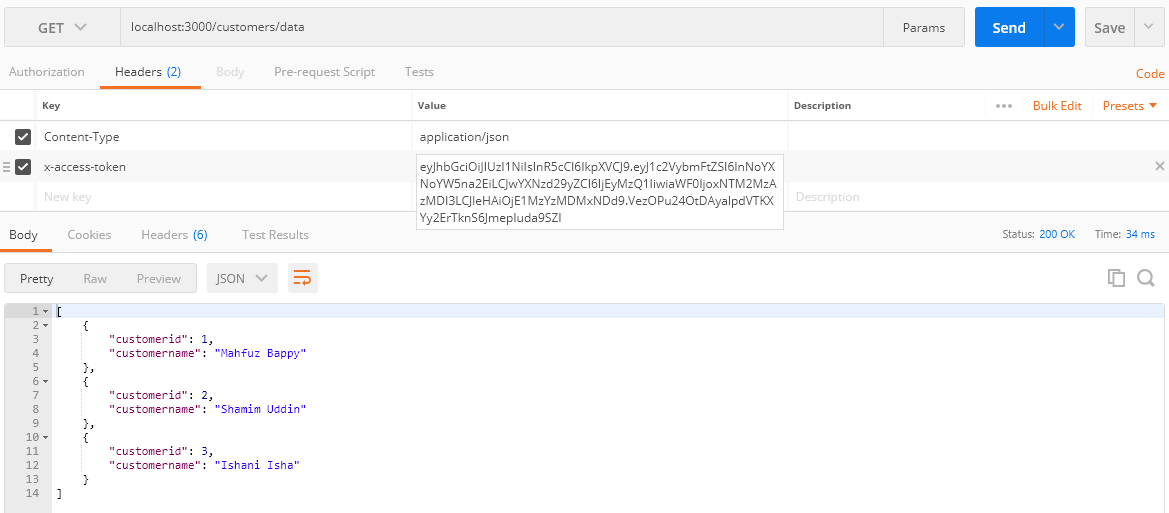
From the above screen, as you can see sever responded with the return of JSON data after successful token verification. Here’s the console log-in command terminal of visual code where token and payload information is printed on client request.
If the token is invalid or expired, the server will respond with a message of “Unauthorized Access” instead of serving data.
As you can see from the below screen the token expired message is printed in the command terminal with the status code 401.

That’s it, finally, we know how to secure server requests by token-based authentication without storing any information
Summary
This article looks at using JSON Web Tokens (JWT) to secure Node.js APIs. It describes token-based authentication as an alternative to server-side session storage, emphasizing benefits such as statelessness and enhanced performance. The article then looks into JWTs, their structure, and how to produce and validate them in a Node.js application using the "jsonwebtoken" package. Finally, it shows how to use middleware to build token-based authorization to protect API endpoints.
To go deeper, you can explore our Free Node.js Course With Certification and learn by doing with hands-on examples.
FAQs
The "aud" (audience) claim identifies the recipients for whom the JWT is intended. Each principle intended to handle the JWT MUST identify itself in the audience claim with a value.
To authenticate a user, a client application must transmit a JSON Web Token (JWT) in the HTTP request's authorization header to your backend API. API Gateway validates the token on your behalf, so you don't need to add any code to your API to handle authentication.
If you send JWT access tokens to your clients, keep in mind that client developers will have access to the data included within the token. And believe us when we say that if they can, they will. This should make you think about a couple of things: Some developers can begin using the JWT data in their applications.
iss (issuer): The JWT's issuer. sub (subject): The JWT's subject (the user). aud (audience): The intended recipient of the JWT.
JSON Web Token (JWT) authentication is a stateless technique of securely sending information as a JavaScript Object Notation (JSON) object between parties. It is frequently used in online applications and APIs to authenticate and authorize users.
Take our Nodejs skill challenge to evaluate yourself!

In less than 5 minutes, with our skill challenge, you can identify your knowledge gaps and strengths in a given skill.